You have probably heard of mead, but have you heard of pyment?
So what exactly is a pyment?
A pyment can also be known as a grape melomel. It is a type of mead that is made with fruit, but when specific fruits are used, they are given a specific name. Mead that is made with apples (Cyser) and mead that is made with grapes (generally from juice) are called pyments. Pyments can be red, white, or blush, just like you see with wine.
To make a good pyment, it is important to ensure that the grape is carefully mixed in with the honey-sweet-acid-tannin-alcohol of the mead. White and red versions can vary significantly, and the overall impression should be from the characteristic of the type of grapes used, suggestive of a similar variety of wine. There should be an appealing blend of the fruit and honey character but not necessarily an even balance. Generally, a good tannin-sweetness balance is desired, though very dry, or very sweet examples do exist.
What to consider when making a pyment
You can make these with regular grape juice, although it is important to ensure that the juice does not contain preservatives as this will hinder or not allow the yeast to ferment. This information can usually be found on the label or on the ingredients list. The most common food grade preservatives are potassium sorbate or sodium benzoate.
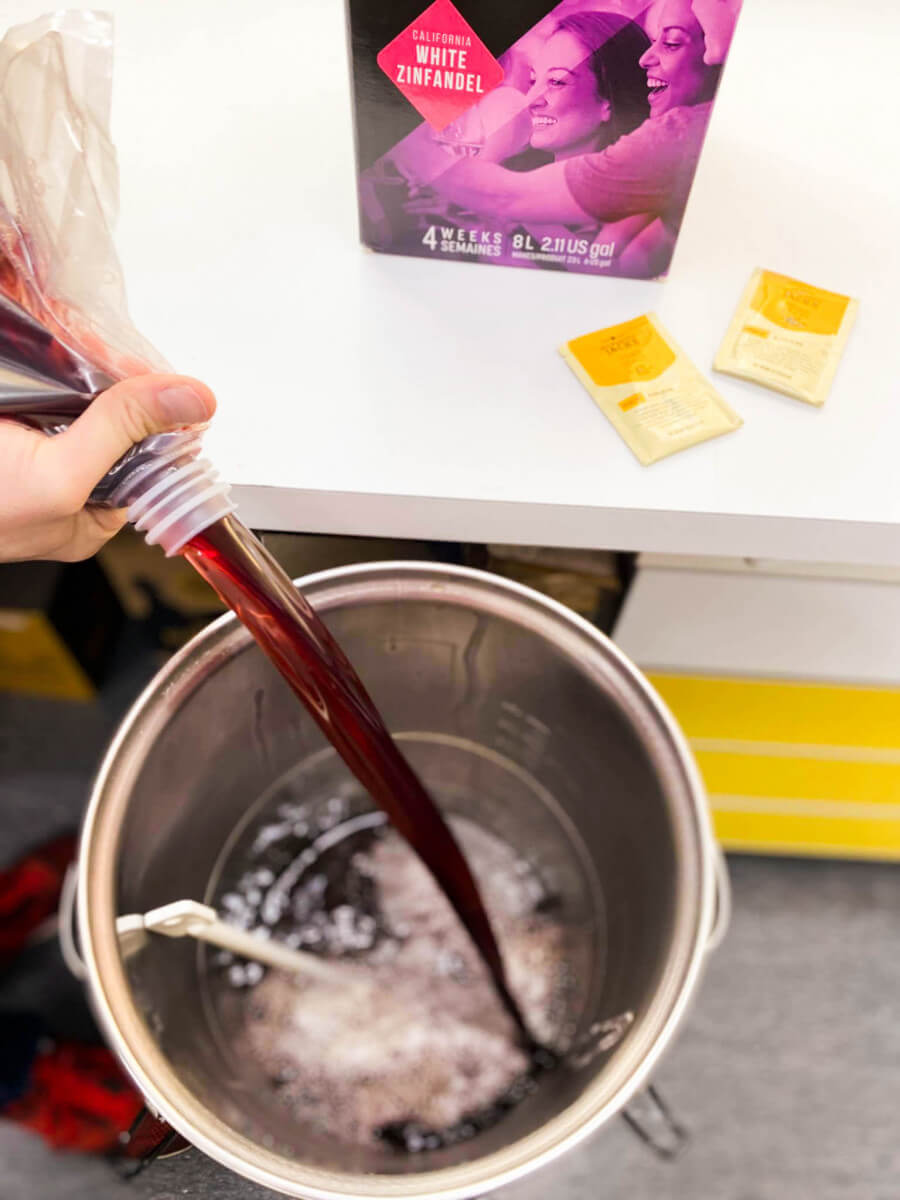
As well as grape juice, you can also use a wine kit and add honey. This is what we used for our brew as it takes out the guess work when it comes to the quality of the final product and it is easier to match varieties of honey to the wine kit.
This brings us to the importance of the pairing of the grape with the honey and it’s where you can really get creative to suit your own style. Light, floral, or citrusy honey compliments similar notes in the wine. Whereas honeys with herbal or woody characters pair well with wine that is aged on oak, and dark spiced honey works well with dark fruit and tannin characters of red wines (think mulled wine).
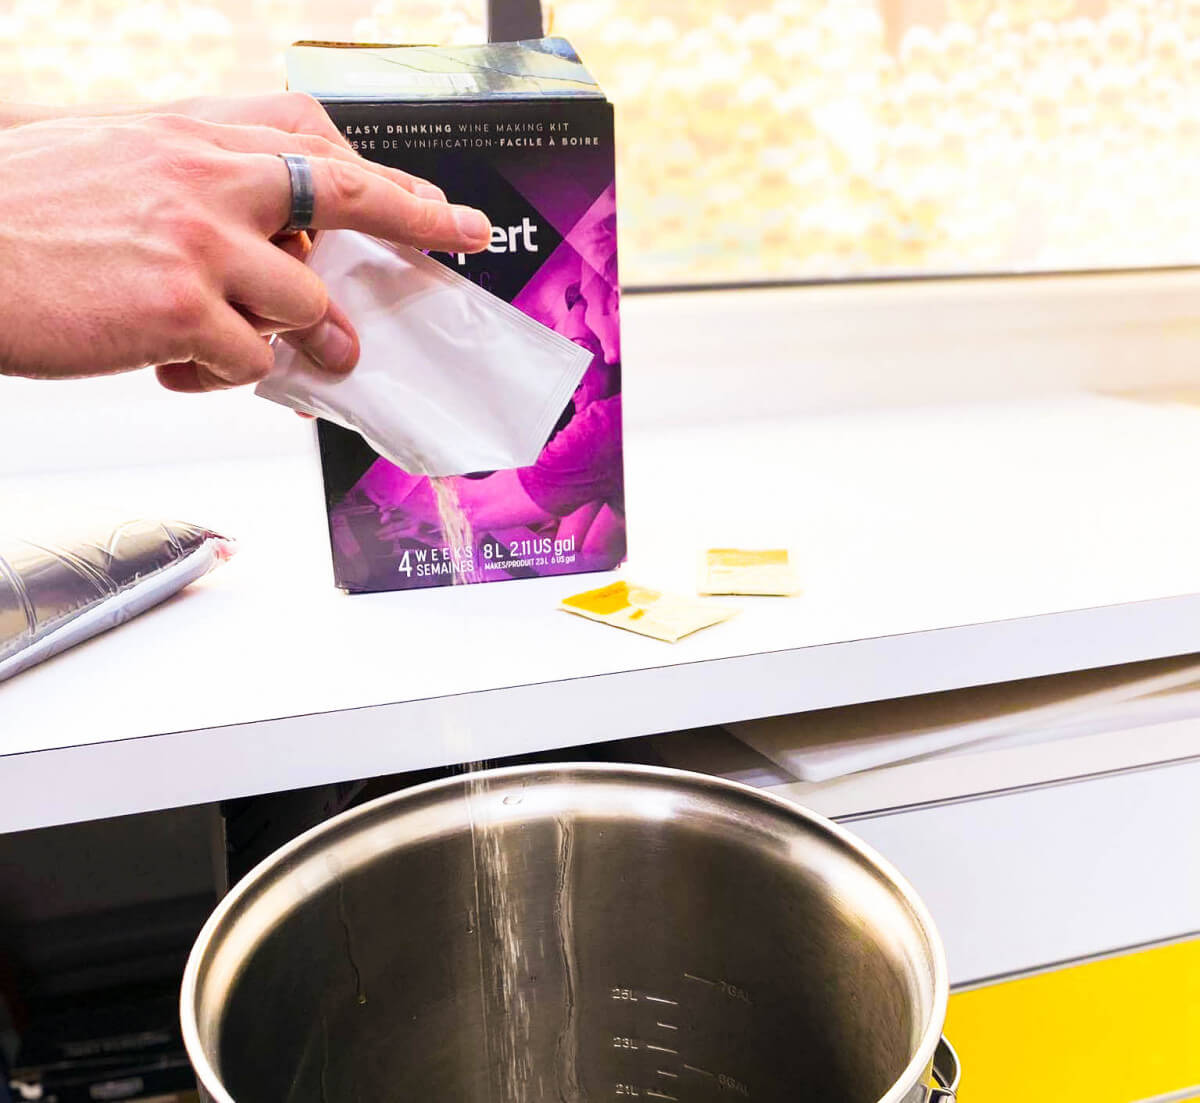
Both honey and grape juices are nutrient deficient. This means that a yeast nutrient addition is necessary when making mead with store bought grape juice. However, most wine kits have nutrients added to the grape juice so adding additional nutrients aren’t usually necessary in this case.
Carbonation & ABV
Like wine, mead can also be served still or sparkling and when considering both options, it’s important to keep the ABV in mind. Lower ABV can make mead seem thin and watery, whereas higher ABV mead that is sparkling will rush straight to your head. So typically, it is best to carbonate lower ABV mead to increase drinkability and keep higher ABV mead still. In saying that, champagne has a high ABV and it’s also sparkling, no wonder it goes straight to the head…
How we made our pyment
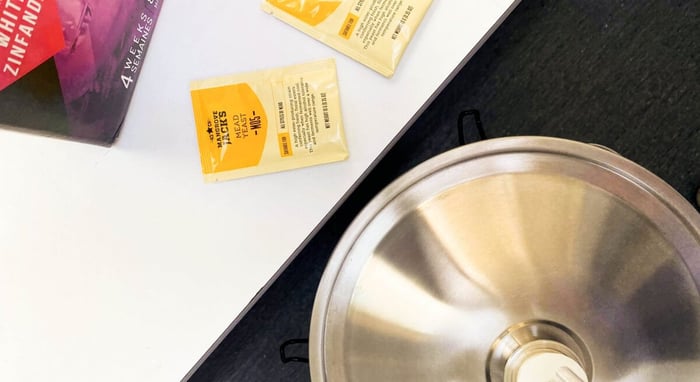
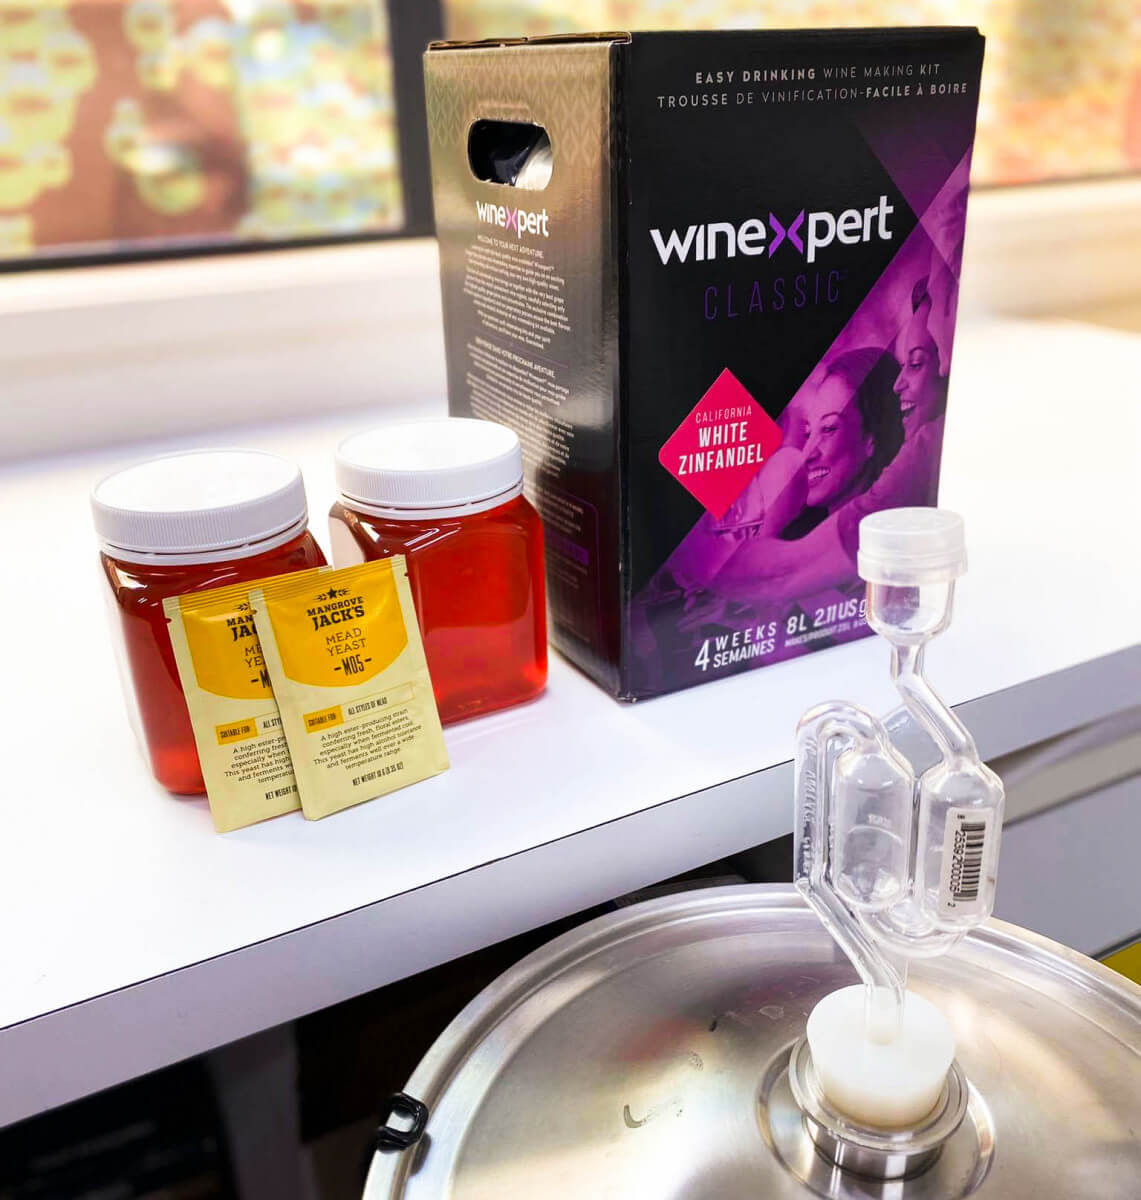
We have used a white Zinfandel Winexpert kit.
Ingredients
- 1 x Zinfandel Winexpert kit
- 1kg of NZ Meadow Honey
- 2 x M04 Mangrove Jacks Mead Yeast 10g sachets
- 2L boiling water
- 23L room temperature water
Equipment
- 30L fermenter
- Stirring spoon
- Measuring jug
Process
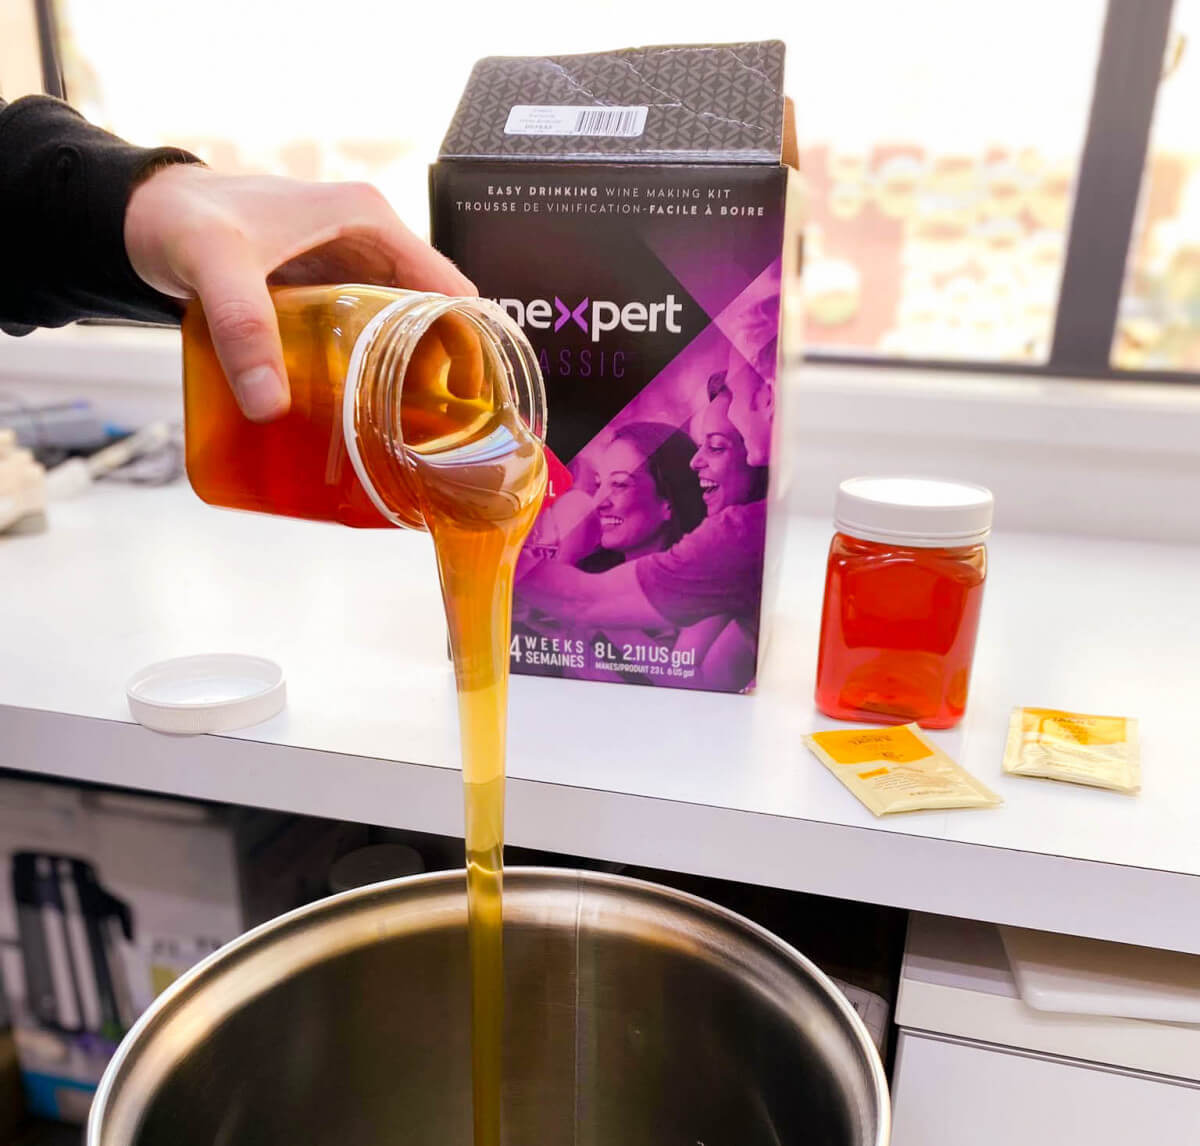
1. Pour the honey into a clean and sanitised fermenter. Add 2L of boiling water to the fermenter and stir to dissolve the honey.
2. Add the grape juice and any other ingredients required by the wine kit (E.g. Bentonite and Nutrient).
3. Top up the fermenter with room temperature water until you reach 25L.
4. Once your wort/wash is at the fermentation temperature[SB1] required on your yeast sachet (for our mead yeast, this will be between 15 – 30°C), you can pitch the yeast.
5. If you are not using a wine kit, add the nutrient as per your nutrient schedule (E.g. TOSNA).
6. Fit an airlock and grommet or bung to the fermenter lid then secure the lid, making sure the seal is airtight. Half fill the airlock ‘U’ with boiled water that has cooled or sanitiser solution, to protect the brew during fermentation.
7. Allow to ferment until your airlock stops bubbling and then test the gravity using your hydrometer or refractometer. The process of fermentation can take a few weeks.
8. Retest the gravity again the next day. If the gravity reading is the same, you can move on to clarifying and packaging your mead. See our next blog for more information on this...
Stay tuned for how our pyment turned out in the next blog where we will also cover the next steps, and both, sparkling and still packaging methods!

